|
|
The FASTEST Afternoon |
|
In Slot Car Racing!! |
|
|
The FASTEST Afternoon |
|
In Slot Car Racing!! |
How To Make Your
Panther Purrrr
By
Tony McWilliams
|
|
|
|
Introduced in 1995, Slottech revolutionized the professional slot racing scene by introducing a true racing car known as the Panther. This product was purpose built for H.O. racers rather than mass-produced toys for children. Offering racer options and new product innovations such as multi color chassis/bulkhead for flexibility, long or short wheelbase configuration, variable guide pin location, enclosed pickup shoes, and double wound pick up shoe springs this product has been the standard which all cars since have tried to replicate. |
|
|
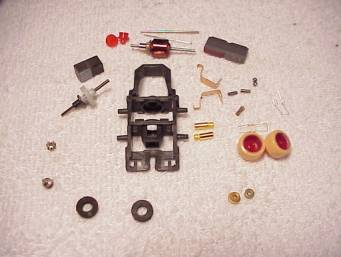
Slottech offers the Panther in kit form to offer true racers the opportunity to use the TLC required to make a car perform to it’s potential. When you purchase a Panther it will not require any baking, boiling, or other “blueprinting” that is associated with other mass-produced lesser quality cars. |
Click image for a larger view |
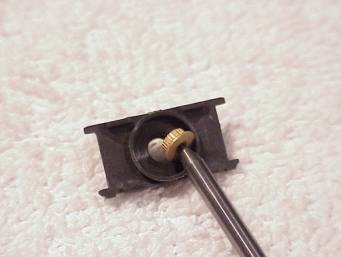
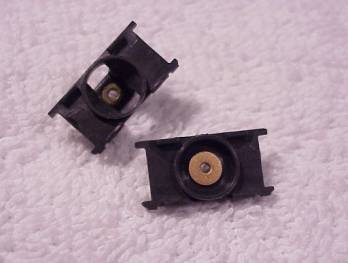
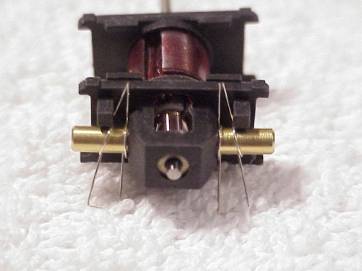
| First install bushings into the bulkheads. I use an old carbide drill to correctly align. You want to make sure the bushing is installed squarely so as not to put the arm in a bind due to misaligned bushings. |
|
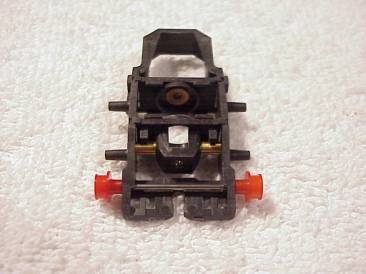
| Panthers come with 2 Oilite bushings. One is flanged for rear bulkhead installation. The other is rounded for easy installation into the front bulkhead. |
|
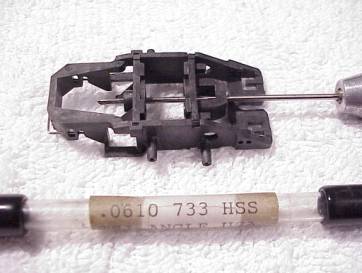
| After the bushing installation, place bulkheads into chassis and line bore with a .0610 reamer. These can be found at any small tool center and sell for less than $10.00. |
|
|
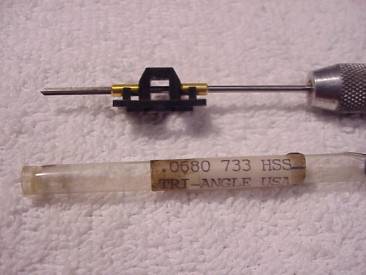
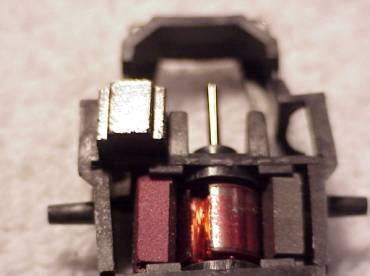
Next, install your brush tubes into the front bulkhead. I like to place the tubes on the reamer so as to make sure you have proper alignment before actually chasing the treads. Make sure that you use a .0680 reamer for this task. |
|
|
Next install your front end. My personal choice is to always run the Panther with a long wheelbase. This has proven itself as the best way for my driving style. I suggest that you play around, what works for some is not always the answer. Besides, there is variety by design! |
|
|
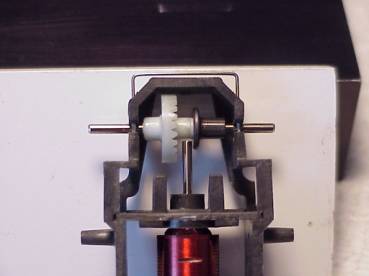
Next install your arm with the motor magnets in place. The armature will tell you where it wants to be in relationship to the magnet field. Spend time here, too many poorly designed and built cars force you to space an arm against its will. This only serves to reduce the torque that can be generated by a superior magnet design. |
|
|
Make sure when your done with your arm spacing that your armature or gear will not bottom out against the rear axle. |
|
|
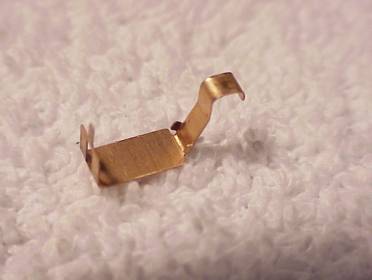
Install your double wound pickup springs. These are just another of the long list of innovative design items developed by Slottech. A little trick to keep from hooking your spring and possibly ruining it is to tuck the upper end to the far inside of the bulkhead. This will offer some protection to the spring as you install it into chassis. |
|
|
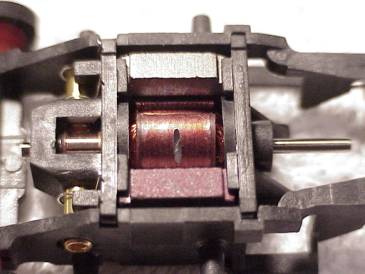
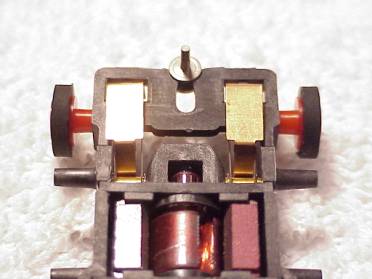
I like to install the traction magnets in a Panther after I have put the motor box into place. This saves wear and tear on the chassis, and also prevents accidental slamming together of the traction magnets. |
|
|
Note the tabs on the foot of the pickup shoe. A good handling tip is to bend these over to at least a 45-degree angle to prevent them from hooking on the pick up spring. I personally like to close up the top of the shoe where it hooks over the brush tube. Not too much, you don’t want any bind! Just keep the tolerance down as to prevent arcing between the shoe and the tube. |
|
|
Ahh...the guide pin, Advertised as adjustable since the Panthers inception, it has really became a hot topic as of late. I guess I should take a little of the credit/blame for that one! Put the guide pin in a position that makes the car handle the best. Just as you would change tire height, use this innovation to make the car and yourself the best it can be. |
|
|
Suggestions: |
|
|
Ceramic magnet cars like the centerline of the guide pin even with the front edge of the pickup shoe. Ceramic motor magnet and polymer traction magnet cars like the guide pin just ahead of the front axle. Full polymer magnet cars like the guide pin as far back in the slot as it will go. Don’t forget the Black Max! |
|
|
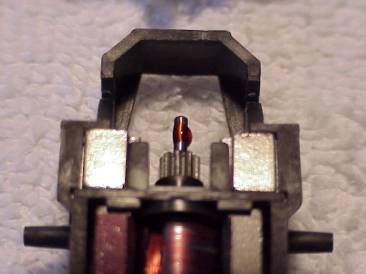
Lock down your pinion gear with Locktite! This goes no matter if you use plastic or steel as is shown here. |
|
|
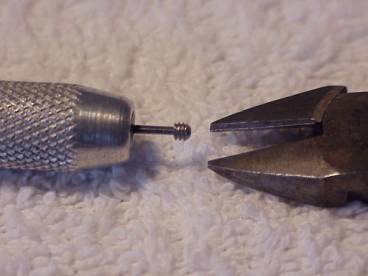
Install your brushes and springs. To prevent losing your set screws put a light crosshatch on the thread with a small set of side cutters. I choose not to utilize products such as Locktite or Vibra-Tite as these have insulating properties that reduce current flow through the brush tube. |
|
|
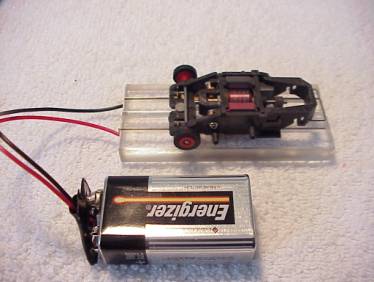
Break in those motor brushes! I will usually let a car run a minimum of 45 minutes to be sure everything is good and set. Don’t forget the oil! |
|
|
The car that is shown in the illustrations is sold as a “Pro Stock” #4715 and retails in kit form for $69.00. This is a terrific price for a car that features:
|
|
![]()
| Host Tracks | Event Schedule | Race Results | Points Standings | Money Matters |
| Join Speed Merchants! | Speed Services | Speed Secrets |
| Sign Up/Tech Sheets | Classifieds |
|
Copyright © 2000-2002 21st Century Sites - All Rights Reserved |